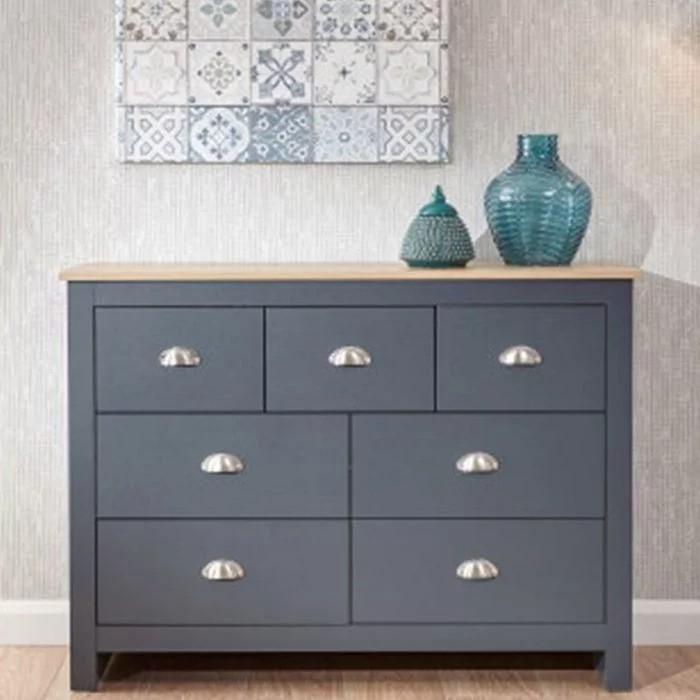
Upcycling an old chest of drawers is not only a creative endeavour but also a practical solution for saving money. Instead of purchasing a brand-new piece of furniture, which can be quite costly, revamping an existing item allows you to personalise it while being environmentally conscious. You can follow the step-by-step process to upcycle a chest of drawers or dressers, including tips on materials, techniques, and design ideas to make your project a success.
Which Chest of Drawers Can be Upscaled?
The first step in your upcycling journey is selecting the right piece. Look for solid wood chests, as they are more durable and easier to work with compared to those made from particle board. Assess the condition of the drawers; minor scratches and dents can be repaired, but extensive damage may complicate the project. It’s also worth considering the style and size of the chest to ensure it fits well in your space, whether you plan to use it as bedroom furniture or for storage in your living area.
Materials Required for Upcycling
Gathering the right materials is crucial for a successful upcycling project. Here’s a comprehensive list to help you prepare:
- Sandpaper: You'll want both medium-grit (around 120) and fine-grit (around 220) for smoothing surfaces effectively.
- Wood Filler: Brands like Ronseal or Polyfilla work wonders for filling in those dents and holes.
- Primer: Using a good-quality primer, such as Zinsser BIN or Leyland Primer, can really help your paint adhere well.
- Paint or Stain: Depending on the look you’re going for, consider using a paint from Farrow & Ball for a bold finish, or a stain from Rust-Oleum to highlight the wood’s natural beauty.
- Sealer: A clear protective sealer, like Minwax Polycrylic, will help add durability to your finished piece.
- Brushes and Rollers: Investing in quality brushes will make your application smoother, and a roller is great for larger areas.
- Decorative Elements: Think about new knobs or handles from places like Anthropologie to give your chest a fresh look, along with stencils or decorative paper for lining drawers.
Preparing the Workspace
Once you have your chest of drawers, it’s essential to set up a clean and well-ventilated workspace. Remove the drawers and any hardware, such as knobs or handles, to allow for easy painting or staining. Cleaning the surface thoroughly is crucial; dust and grease can hinder the adhesion of your chosen finish. A simple solution is to use a mixture of warm water and mild detergent, followed by a rinse and thorough drying.

Assessing and Repairing Damage
Before diving into the fun part, take a moment to evaluate any imperfections on the surface. If you spot dents or holes, fill these with wood filler—products like Ronseal or Polyfilla are great for this task. Apply it with a putty knife, smoothing it out, and allow it to dry as per the instructions. Once it’s set, sand the area down until it’s flush with the surrounding wood. Lightly sanding the entire piece will also help your finish adhere better. Use medium-grit sandpaper first, followed by fine-grit for a smooth touch.
Painting or Staining the Chest
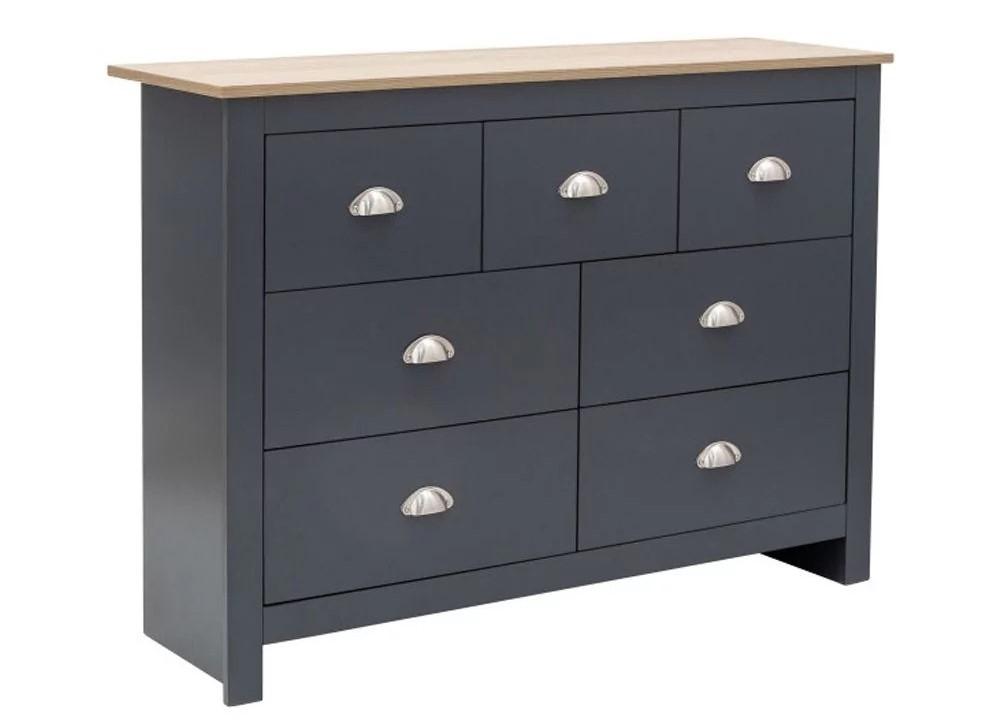
Now comes the exciting part—choosing your finish. Decide whether you want to paint or stain the chest. If you prefer a vibrant look, high-quality paint from Farrow & Ball can work wonders. If you’d rather showcase the natural wood, a stain from Rust-Oleum is an excellent choice. If you go the paint route, applying a primer like Zinsser BIN beforehand is wise, especially on unpainted or glossy surfaces.
When applying your chosen finish, use a brush for detailed work and a roller for larger surfaces. Thin, even layers are key; allow each coat to dry thoroughly before applying the next. Depending on the colour and type of finish, you might need two to three coats. For stains, just remember to wipe off any excess after a few minutes to get your desired depth of colour.
Sealing and Protecting Your Work
After your final coat of paint or stain has dried, it’s important to apply a clear sealer to protect your hard work. This will enhance the durability of the chest, especially if it's going to see regular use. You can choose from matte, satin, or gloss finishes based on what fits your style best. A product like Minwax Polycrylic is a solid option that won’t alter the colour of your finish.
Reassembling and Adding Personal Touches
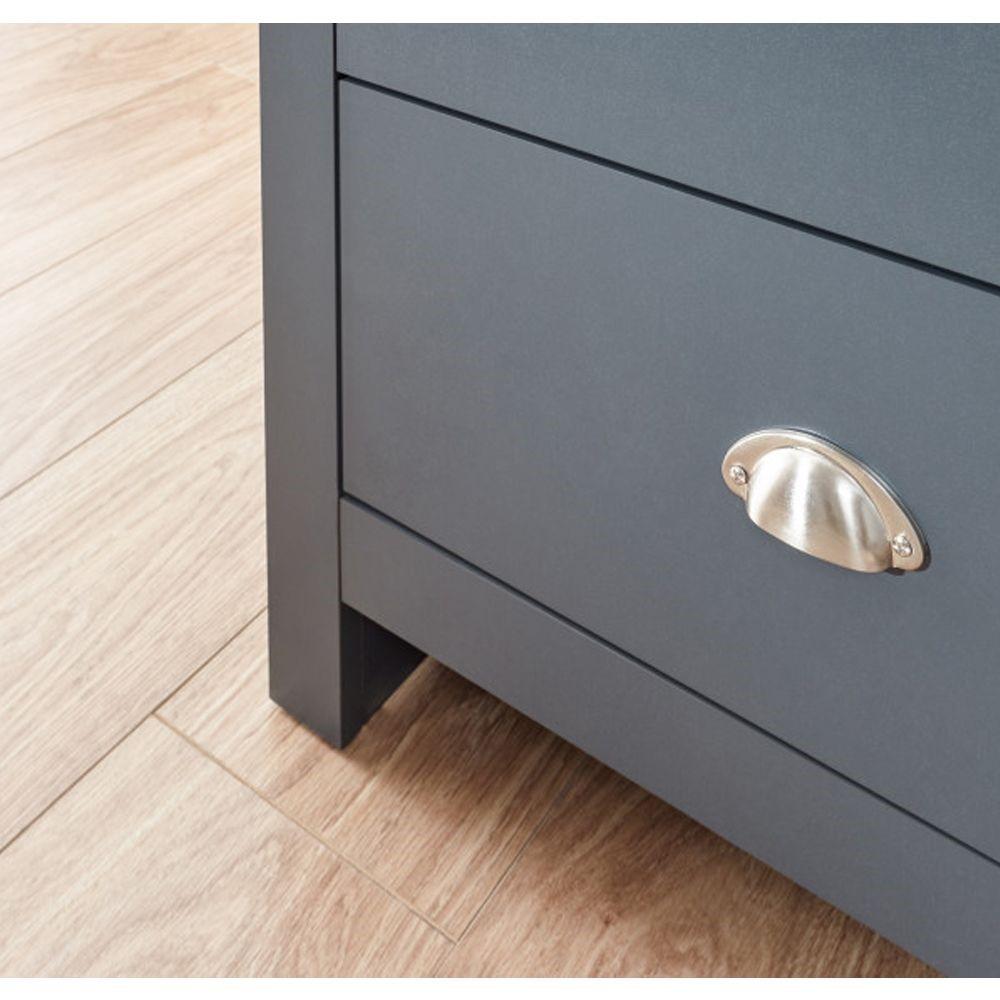
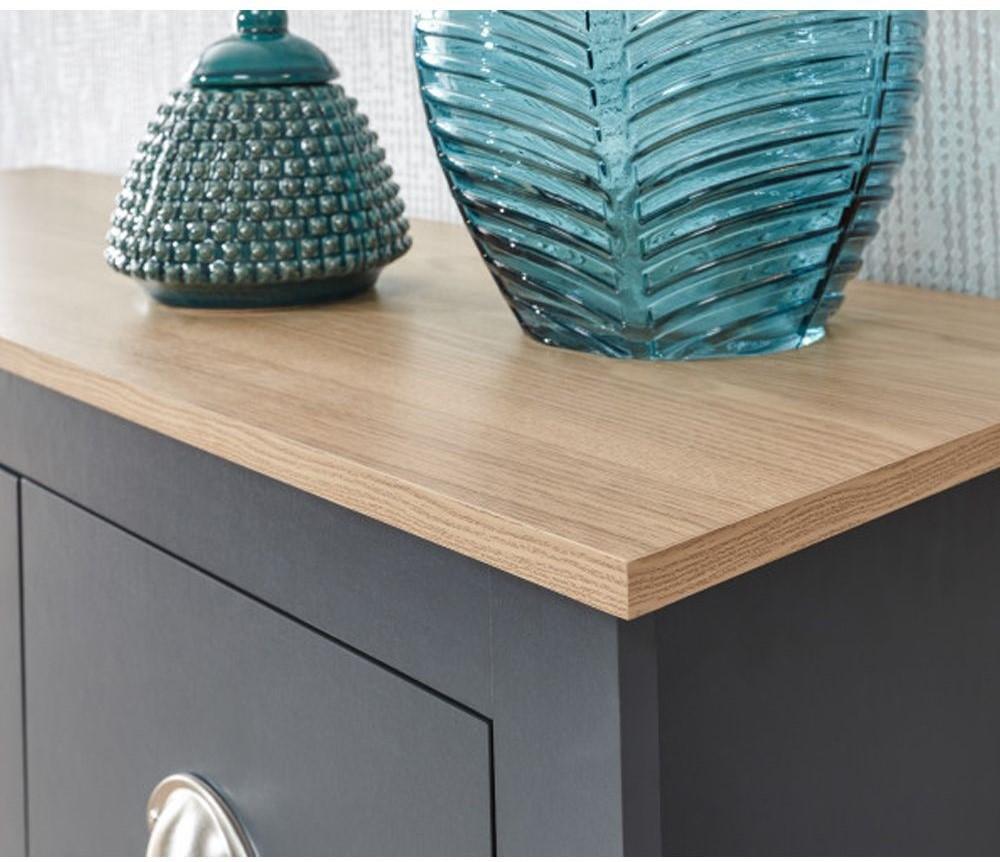
Once the sealer has dried, it’s time to put everything back together. If you’ve decided on new hardware, now’s your chance to install fresh knobs or handles that really enhance your design. Mixing and matching styles can create a fun, eclectic look, while uniform hardware can give a more polished vibe.
Don’t forget to personalise the interiors of your drawers, either. Lining the bottoms with decorative paper or fabric adds charm and protection. It’s a simple touch that can really elevate the overall look of your upcycled piece.
Key Tips for Success
As you embark on your upcycling project, keep a few important considerations in mind:
- Quality Materials: Using high-quality paints, stains, and sealers will ensure a professional-looking finish that lasts.
- Patience in Drying: Let each layer of paint, stain, or sealer dry completely before moving on. Rushing can lead to unwanted smudges or peeling.
- Ventilation: Always work in a well-ventilated area, especially when using materials with strong odours.
- Protective Measures: Lay down a drop cloth to catch any spills or drips, keeping your workspace tidy.
- Attention to Detail: Take your time with sanding and preparation; these steps are crucial for achieving a flawless finish.
- Get Creative: Feel free to experiment with different techniques, such as stencilling or decoupage, to add unique details that reflect your style.
Final Thoughts
Upcycling a chest of drawers can be a fulfilling project that transforms an outdated piece into a stunning focal point in your home. With careful planning, the right materials, and a touch of creativity, you can create a customised item that not only serves a practical purpose but also showcases your personal flair.You can use the same process to paint the wooden cabinets in your kitchen.
If you’re interested in related topics, explore how to upcycle a DVD rack into a nail polish shelf. So gather your supplies, unleash your creativity, and enjoy the rewarding process of breathing new life into an old chest of drawers